10 Tips On How To Make An Instagrammable Grazing Platter

I love throwing a grazing platter together, full of ‘picky bits’ (a professional term that I coined myself, thank you very much!) for a quick meal or snack. Not least because everything is an Instagram opportunity these days – indeed, the #grazingplatter hashtag has more than 75k posts and counting!
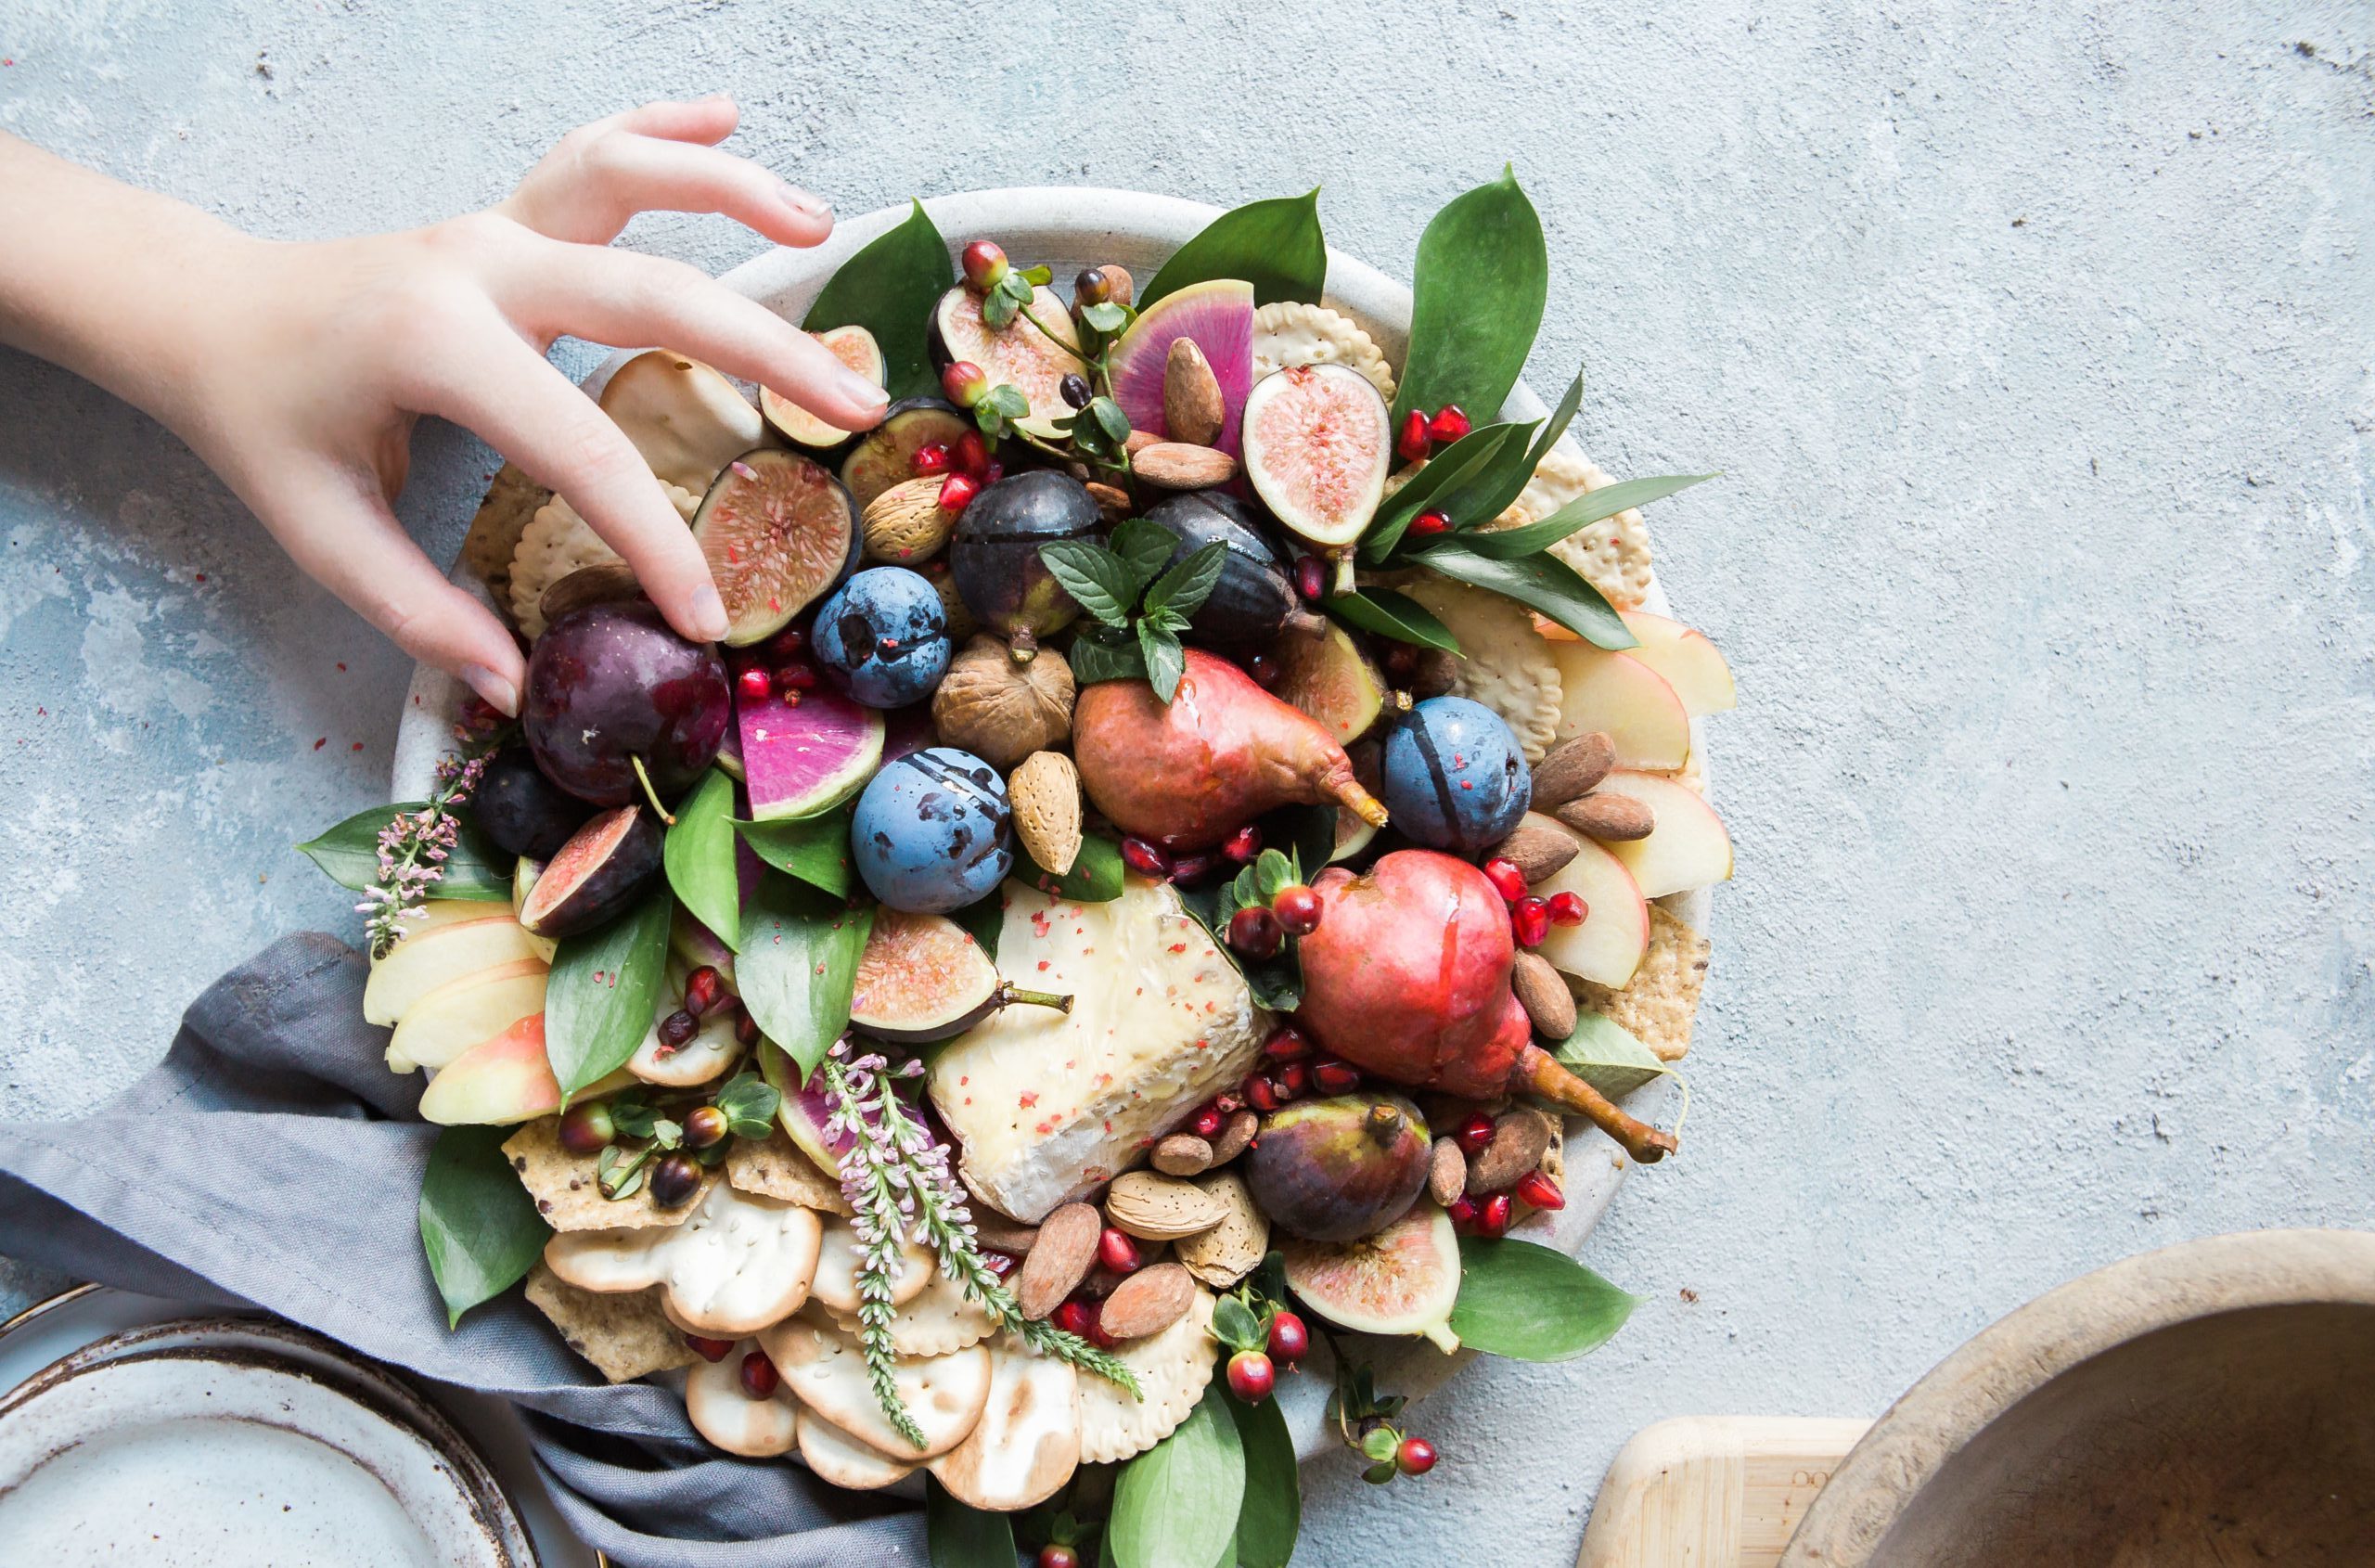
If you go through the hashtag, you’ll see all kinds of beautiful platters that are dressed to impressed with colourful fruit, vegetables and sprigs of foliage. I love to get creative with whatever I have in my fridge or cupboards – especially in current times – and throw something beautiful together.

Whether it’s for a meal at home, something fancy to have with cocktails or for party food.. I’ve never made two platters that look the same. Professional platters can be pretty expensive, so if you have the time to make your own, you absolutely should!
Here are my tips on how to make a beautiful grazing board, on a budget..

- Before you hit the shops, it’s worth raiding the fridge and cupboards to see what you already have. You might be surprised at how many packets of biscuits, crackers, popcorn or pretzels you have stashed away.
- Wash all of your fresh fruit and vegetables in advance and leave them to dry. You don’t want to place a wet strawberry on top of a pile of crackers as this will just make them soggy and inedible.
- You may want to leave some fruit whole; such as strawberries with their crown on for the aesthetic. However, you can get creative with chopping other fruit and veg. Watch some youtube videos on fruit carving for inspiration.
- Try to use as many different colours of fresh produce as possible, as we tend to ‘eat with our eyes’. You may have plenty of shades of red and pink; such as raspberries, strawberries, tomatoes, red pepper and radish. Blueberries and olives are perfect for something blue or black.
- If you’re on a budget or catering for a large number of people, store cupboard ingredients are a really cheap easy way to fill out a grazing platter. Examples of these might be pickles, popcorn, crisps, crackers, biscuits, bread sticks and many more.
- You can absolutely buy shop bought hummus for the centre of the platter. I do this often, but like to pimp my hummus with a drizzle of extra virgin olive oil and some smoked paprika to make it look fancy – but more importantly, it just elevates the taste!
- When putting your platter together, break up large blocks of colours with other colours – for example, break up large bunches of grapes into smaller ones. You can also sprinkle some nuts or seeds onto the smaller bunches. Or don’t place strips of cucumber next to green olives; have them at opposite ends of the board.
- I’d also suggest altering the heights of food, and stacking things on top of one another as different levels are important for creating visual impact.
- For that professional touch, fill every centimetre of your board or platter with something! Leave no gaps and if it’s a smaller gathering, simply use a smaller board. I build up foliage, flowers, candles, plates, bread, napkins around the edges – anything that’s a good space filler.
- If you’re creating a large grazing table for a party, put the table in the middle of the room, instead of against a wall, so people can help themselves from all sides.

Here’s a platter I threw together last weekend for lunch in the sun. I literally used anything I could find at home as I was stuck for ideas on what to make for dinner – and this was perfect!
What would be on your ideal grazing platter?

